This web site my alternate site for steampunk related items. At present, it is just a stub.
You might want to go to the following locations:
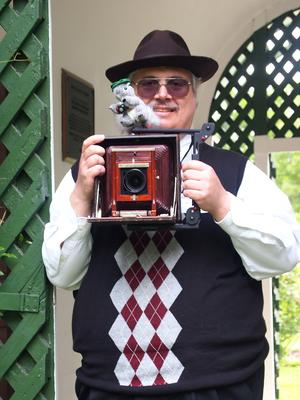
I've had a fascination with the images of news photographers from the 1930's with the classic Speed Graphic and large flash taking pictures of events of Hollywood celebrities, and I've been on a quest to replicate the look, but using digital cameras. Along the way, I've gone through several iterations of the design.
Here are a few pictures:
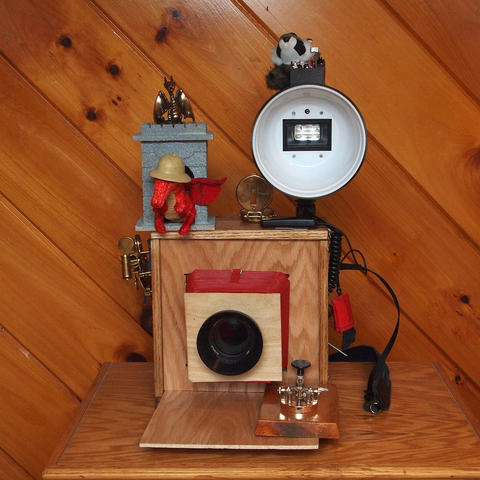
Front view with dragons |
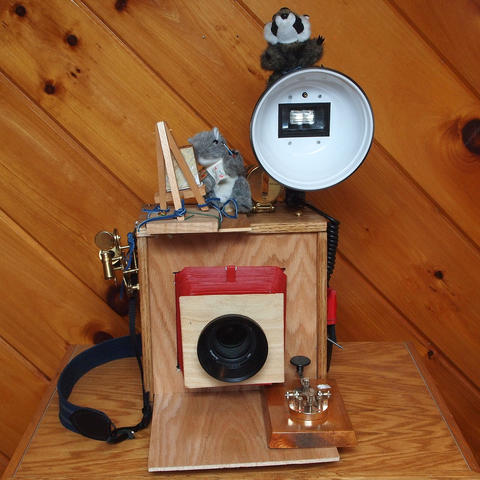
Front view with painter squirrel |
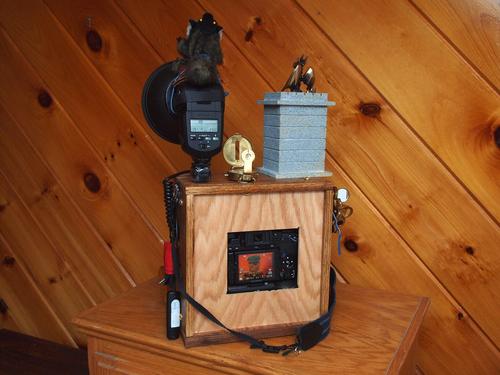
Back view |
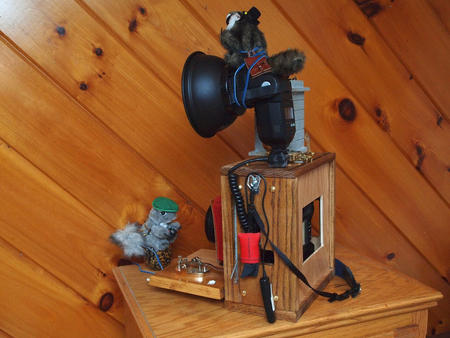
Side view |
Like many steampunk things there is a lot going on, and the critters and attachments vary by the day and my whim.
Here are a few pictures:
Front View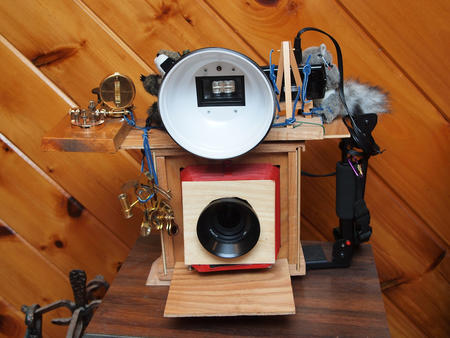 |
Back View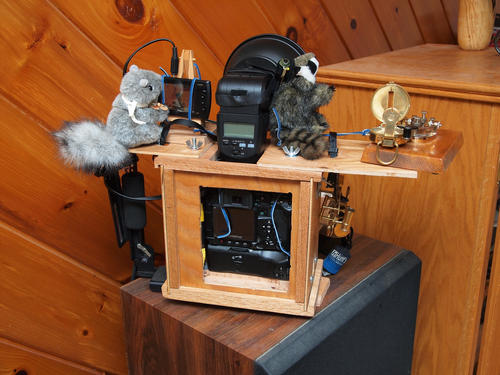 |
Racky the steampunk raccoon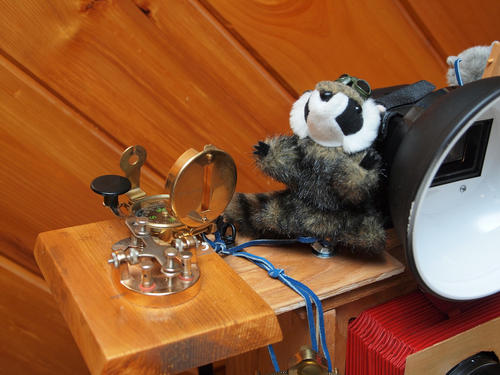 |
Livinia the painter squirrel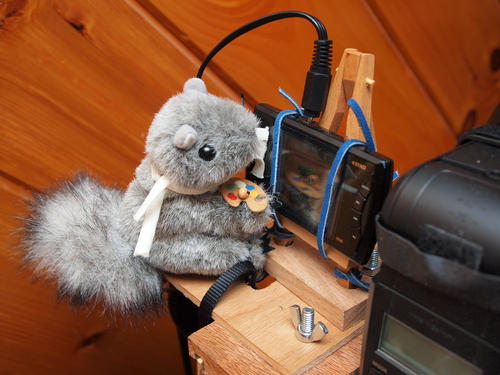 |
Back view with panel off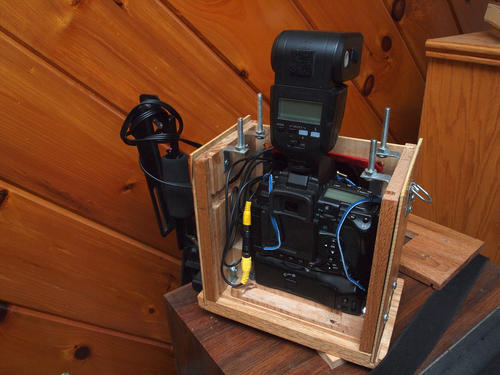 |
Camera box without camera |
Ability to zoom |
Shutter release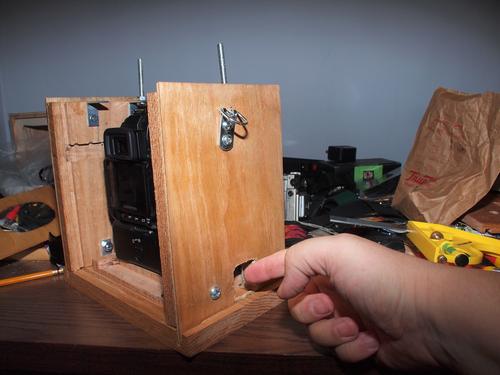 |
I have more pictures documenting the build at http://www.the-meissners.org/2011-small-albums/2011-hide-camera/index.html.
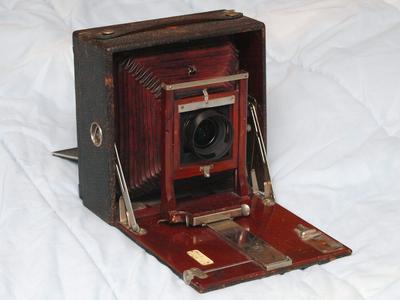
The first camera that I bought was the Seneca Chautauqua 4x5 large format camera. My wife and daughter declared this was too nice of a camera to ruin by putting my camera inside, so it has mostly sat on the shelf looking pretty. I did take it to the Arisa science fiction convention with the Olympus E-P2 mounted on top. The reaction to this camera convinced me to really persue the goal of trying to disguise my camera.
Here are a few pictures:
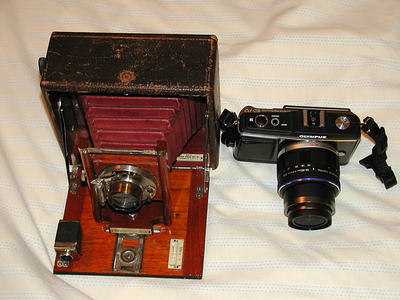 |
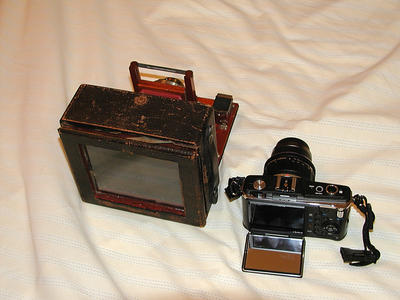 |
I have more pictures of the Seneca at http://www.the-meissners.org/albums/camera-hacks/index.html#chautauqua.
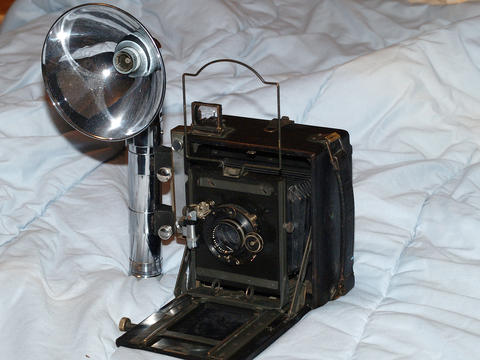
After buying the Scenca, I looked around on ebay, and eventually won an auction of a Folmer Grafex Speed Graphic from 1939. When I got it, the Speed Graphic looked to be in reasonably good condition, and I paid to get it restored. Sooner or later, I hope to run real film through the camera, so I'm saving the camera for that.
I also found a Heiland flash to complete the look, though it looks like the Heiland flash has a slightly different connector to the Speed Graphic (perhaps it is made for a slightly different Speed Graphic from a different era). The Speed Graphic and flash are definately the classic look. As a side note, the flashes from cameras of this era have often been made into Star Wars light sabers.
 |
 |
I have more pictures of the Speed Graphic at http://www.the-meissners.org/albums/camera-hacks/index.html#sgraphic.
When I was looking at putting my Olympus E-P2 inside of the Folmer Grafex Speed Graphic 4x5 camera, I came to the conclusion that 4x6 bodies are just too small to fit the E-P2, and that I needed to step up from a 4x5 camera to a larger camera. There just isn't enough room inside of the body to accomidate the digital cameras. The E-P2 body is a rather tight squeeze, but the lens is off center, and would not fit into the lens board.
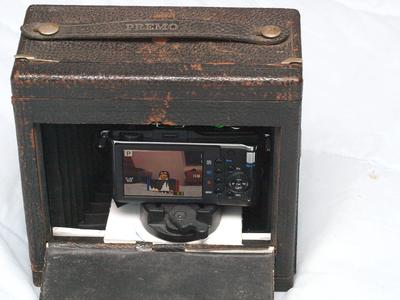
Eventually I won an auction for a Kodak Pony Premo 5x7 large format camera from around 1910-1915. I removed the lens from the Kodak camera, and the Kodak body is just big enough to hold the E-P2 inside with the E-P2 14-42mm lens fitting through the lens board. I would not be able to use any of my other lenses in this setup, since they are much larger, unless I enlarged the openning in the lens board. So far, I have been loath to make any permanent to the Kodak body.
Orignally I mounted the E-P2 camera outside of the Kodak body, but eventually I fashioned some wooden supports that fit inside the body. I can now close the back of the camera when it is off.
Because I have to adjust the bellows manually to accomidate the zooming the lens, it means I generally shoot with the gear as a fixed lens camera, and I have to position the camera to get the shot I want, rather than zooming in or out.
I have a lens shade made for Leica lenses that extends beyond the lens board and hides seeing the camera inside. It looks cool, but often it catches on the lens board and prevents the lens from focusing. When I did the Connecticut renaissance faire, I left off the lens shade and it focused a lot easier. I also was able to zoom the lens somewhat by reaching through the back and rotating the lens.
A friend of mine who has shot with view cameras says I should put a black cloth like they use when you are manually focusing the camera on a tripod. I tend to prefer leaving the LCD visible, because it is easier to shoot. Also, when people come up to me, they often assume it is just a prop that I'm holding, and I can swing it arround to show the digital camera inside.
The E-P2 has one serious design flaw, and that is the wired shutter release connects on the right side where you hold the camera. Inside of the Kodak body, the camera is jammed right against the right side so that the lens will fit through the lens board, and so I can't use an electronic shutter release. I have cobbled together a mechanical shutter release that I attach over the shutter button, and it allows me to shoot the camera without reaching inside the box.
 |
 |
 |
 |
I have more pictures of the Kodak Pony Premo with and without the E-P2:
Here is a video I shot to show the camera:
|
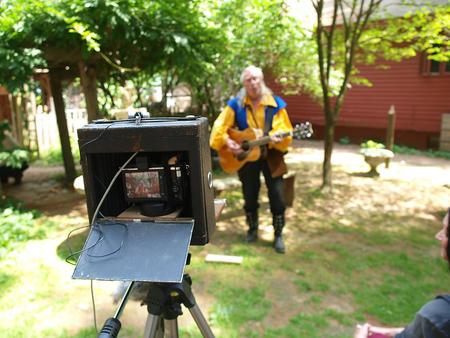
Olympus E-P2 inside of a Kodak Pony Premo 5x7 camera Shot with a Kodak ZX-1 camera on October 10th, 2011 |
As good of a hack as the Kodak Pony Premo + E-P2 is, I have now moved on to making my own shell to overcome some of the challenges, and debuted it at the 2011 Arisia science fiction convention:
For this generation of the box, I bought a wooden shadow box from the craft store Michaels. I've gone through a few boxes. Most of the work on the box is with hand tools. For the next generation of the box, I will be making the box from scratch, and using power tools like a table saw and router.
I picked up a red bellows from ebay that I will use in the build. The bellows are a little on the big side at the front, and I will have to fashion some sort of lens board. Alternatively, I could learn how to make bellows and make a smaller set or adapt existing lens shades that come with bellows. After seeing the Seneca and Kodak bodies, I want red bellows, and not boring black.
One of the features of this generation of the camera setup is there is a hole on the bottom so that I can remove the battery and change it. In practice this isn't that convenient because you generally have to tip the camera on the side to get the batteries out. While I disliked the battery grip on my E-1 because it changed the size of the camera, I did break down and get the HLD-4 grip for the E-3 for the next generation of box. The HLD-4 can hold 2 batteries, so it will last longer between changing batteries, and because it opens to the back, I won't have to tip the box over to get the batteries out.
The side has an opening so that I can change memory cards without taking the camera out of the box. In the next generation, I probably won't have a hole for changing memory, instead, I will make it much easier to remove the camera from the box.
Here are pictures of my current setup. I've taken this setup to the 2011 Arisia science fiction convention, some steampunk events, and a few renaissance faires.
Here are more pictures of the various designs I have gone through:
Here is a video I shot to show the second generation of steampunk camera:
|
Second generation of Steampunk camera Shot with a Kodak ZX-1 camera on October 10th, 2011 |